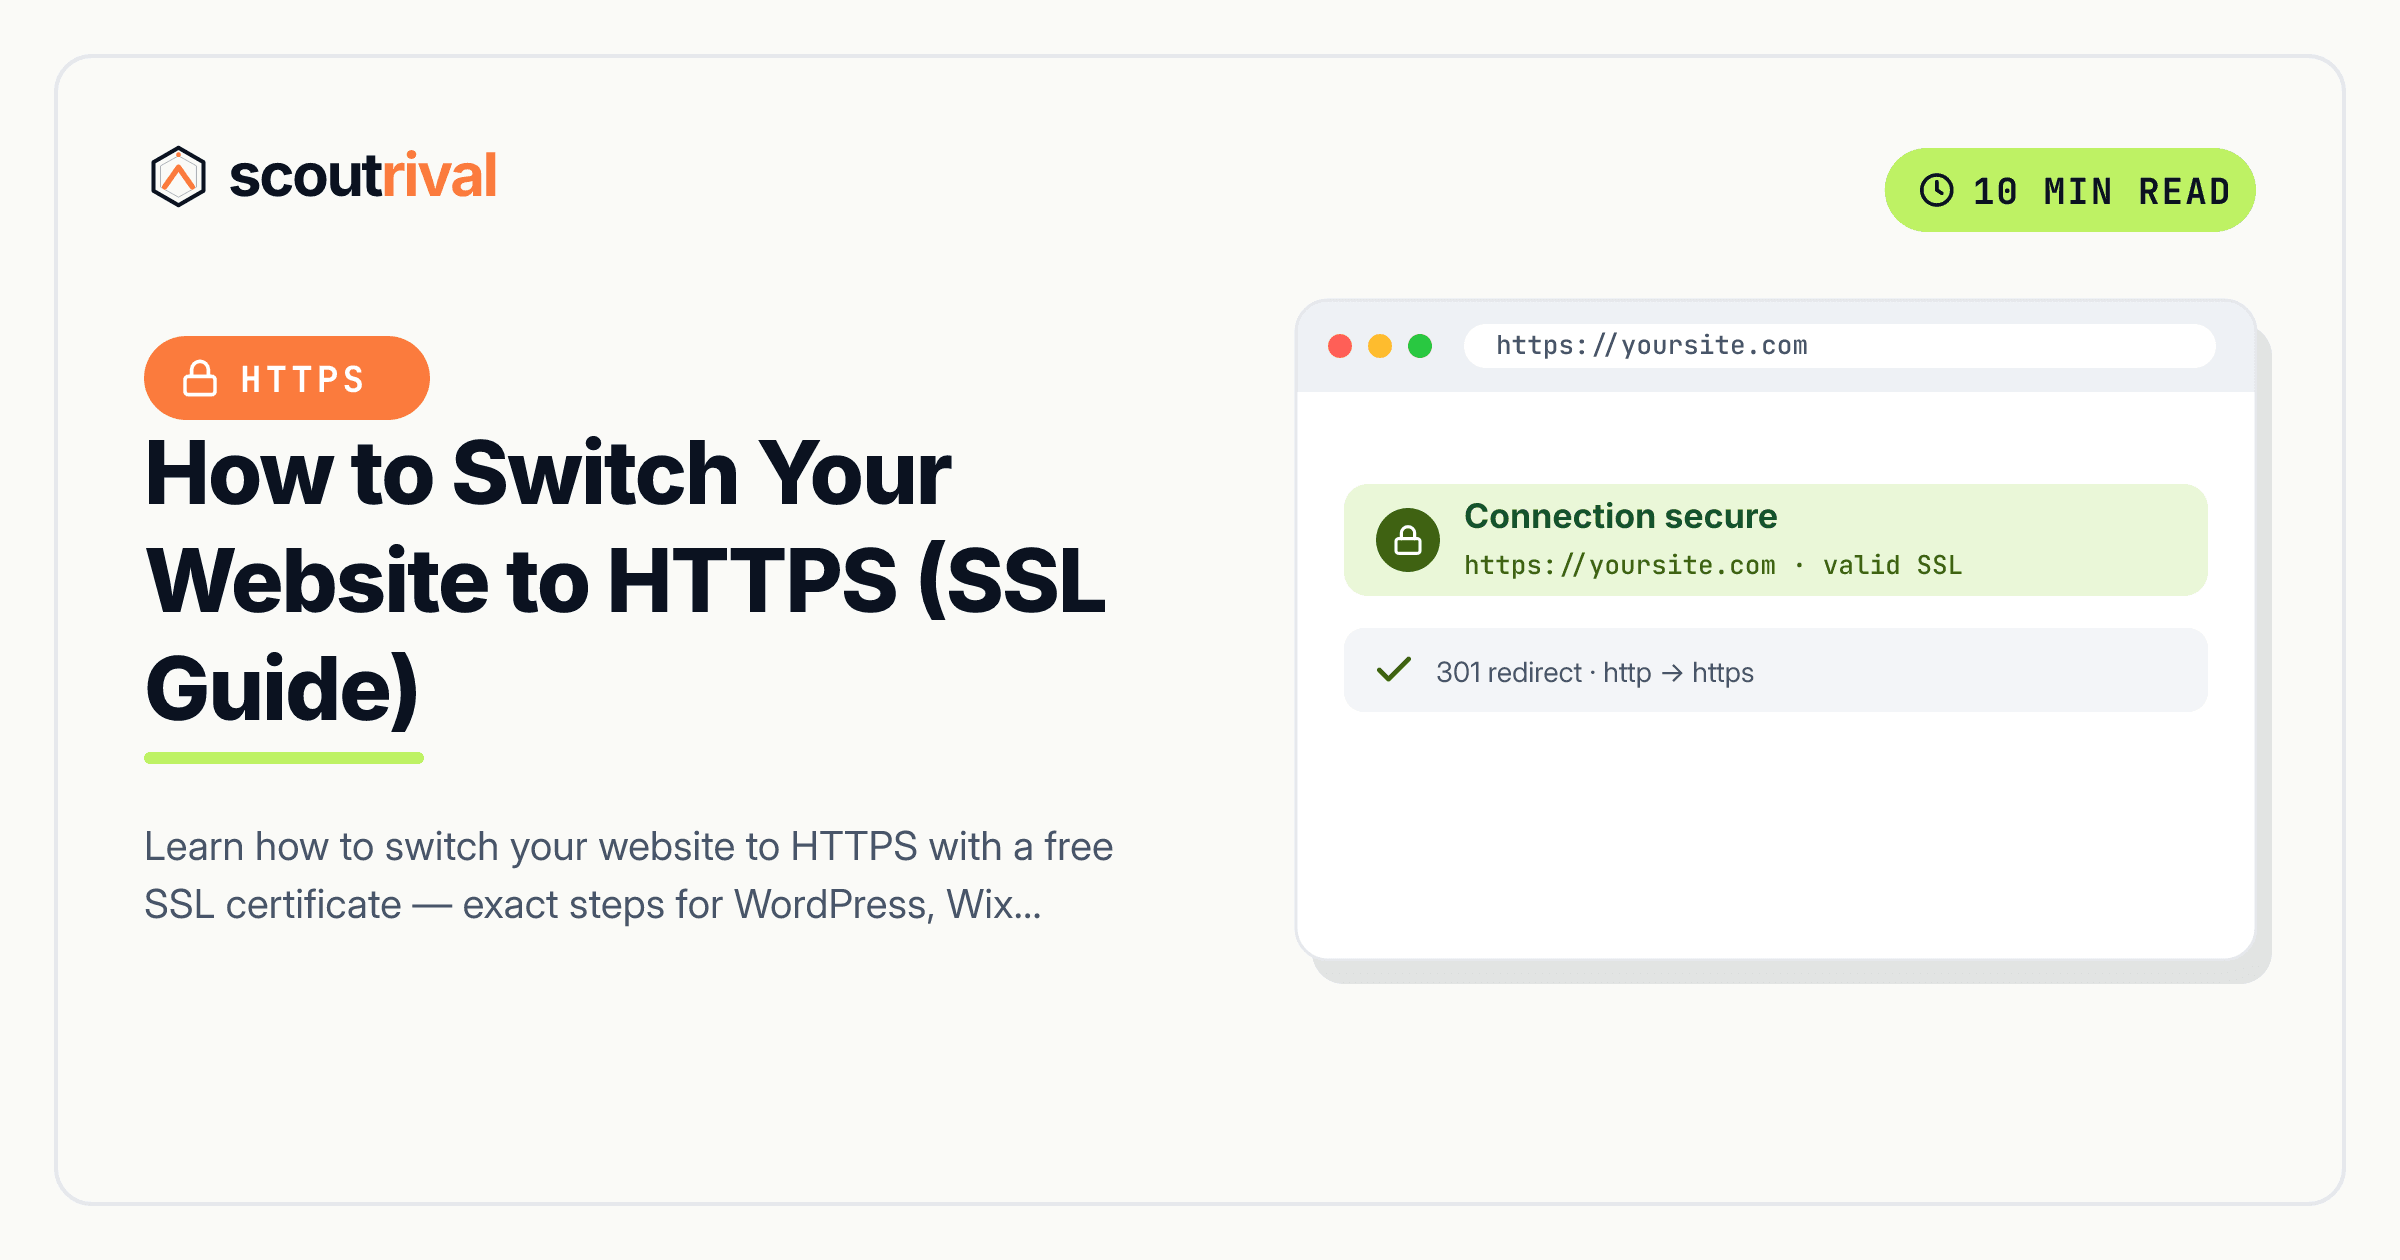
How to Switch Your Website to HTTPS (SSL Guide)
Learn how to switch your website to HTTPS with a free SSL certificate — exact steps for WordPress, Wix, Squarespace, Webflow, Shopify and custom-hosted sites.

On this page
If ScoutRival’s SEO Score flagged “Serve every page over HTTPS,” it means one or more of your pages still loads over the old, unencrypted http:// — which browsers flag as insecure and Google ranks below secure equivalents. It’s one of the most important technical fixes you can make, and on most platforms it takes 10–15 minutes with no coding. Here’s how to do it on every major platform.
What is HTTPS?
HTTPS (Hypertext Transfer Protocol Secure) is the encrypted version of the protocol your browser uses to load web pages. When a site runs on HTTPS, the data travelling between your visitor’s browser and your server is scrambled so no one in between can read or tamper with it. It’s what puts the padlock icon in the browser’s address bar.
Here’s a simple analogy. Sending information over plain HTTP is like mailing a postcard — anyone who handles it along the way can read every word. HTTPS is like sealing that same message inside a locked envelope: only the sender and the intended recipient can open it. Passwords, contact-form entries and payment details all travel far more safely inside that envelope.
The lock is provided by an SSL/TLS certificate — a small digital credential installed on your web host that proves your site is who it says it is and switches the connection to encrypted mode. You’ll hear people say “SSL certificate” and “TLS certificate” interchangeably; TLS is simply the modern version of the older SSL technology. In one sentence: HTTPS is HTTP secured by an SSL/TLS certificate, giving every visitor an encrypted, trusted connection to your site.
Why it matters for your SEO
Switching to HTTPS is one of the few technical changes that pays off in both rankings and conversions:
- It’s a confirmed ranking signal. Google has publicly used HTTPS as a lightweight ranking factor since 2014. All else being equal, the secure version of a page has the edge over an insecure one.
- Browsers actively warn visitors away. Chrome, Safari, Firefox and Edge display a “Not secure” label — sometimes a full-page warning — on HTTP pages that collect any input. That warning tanks trust and sends people bouncing before they read a word.
- Modern features require it. Many browser capabilities (and payment integrations) only work over HTTPS. Staying on HTTP quietly limits what your site can do.
- AI and social previews trust secure URLs. Secure, canonical
https://links are what you want indexed, shared and cited.
ScoutRival’s SEO Score checks whether each page is served over HTTPS. If a page loads over http://, or mixes insecure resources into a secure page, the check fails as a high-severity technical issue — and the steps below clear it.
How to check if you have this problem
A quick 30-second check:
- Open your website in a browser and look at the address bar.
- Check the start of your URL and the padlock icon:
- You see
https://and a closed padlock → your page is secure. Also try typinghttp://yoursite.com(with no s) and confirm it automatically redirects to thehttps://version. - You see
http://, a “Not secure” label, or a broken/open padlock → that’s the problem this guide fixes. An open or warning padlock on an otherwise-httpspage usually means “mixed content” (some images or scripts still load over HTTP).
To find mixed content specifically, open your browser’s developer tools (press F12), reload the page, and look in the Console tab for warnings about insecure resources. Running your ScoutRival SEO Score checks HTTPS across every page automatically, so you don’t have to test each one by hand.
How to fix it — step by step
Every fix has the same two goals: get a valid SSL certificate installed, then force every visitor onto the https:// version. Pick your platform.
WordPress
WordPress itself doesn’t issue certificates — your web host does — but almost every host now offers free SSL:
- Log in to your hosting control panel (cPanel, Plesk, or your host’s custom dashboard). Find the SSL/TLS or Security section and enable the free Let’s Encrypt certificate for your domain. Many hosts do this automatically; if not, it’s usually one click.
- Back in WordPress, go to Settings → General and change both the WordPress Address (URL) and Site Address (URL) from
http://tohttps://. Save (you may be logged out — log back in). - Force the redirect so old HTTP links land on HTTPS. The easiest route is a free plugin like Really Simple SSL, which detects your certificate and sets up the HTTP→HTTPS redirect and fixes most mixed content automatically. Activate it and follow its one-click prompt.
- Update any hard-coded
http://links in your content and theme, and check that images and embeds load over HTTPS.
Wix
Wix includes SSL automatically on all sites — there’s usually nothing to buy or install:
- Go to your Wix dashboard → Settings → SEO / Domains.
- Confirm SSL is enabled (it’s on by default; look for an “SSL certificate” toggle and make sure it’s active).
- Wix serves your site over HTTPS and handles the redirect for you. If you connected a custom domain, allow a little time for the certificate to provision after connecting it.
Squarespace
Squarespace provides and manages SSL for every site at no extra cost:
- Go to Settings → Developer Tools → SSL (or Settings → Advanced → SSL in some versions).
- Set the security preference to Secure (Preferred) — this serves your site over HTTPS and redirects insecure requests.
- Save. Squarespace handles certificate renewal and the redirect automatically.
Webflow
Webflow includes free SSL hosting on published sites:
- Open Project Settings → Publishing (or Hosting in newer editors).
- Make sure SSL is enabled for your custom domain (toggle it on if it isn’t).
- Republish your site. Webflow provisions the certificate and serves everything over HTTPS, redirecting HTTP automatically.
Shopify
Every Shopify store gets a free SSL certificate automatically:
- Go to Settings → Domains.
- Check that SSL shows as active next to your domain. If you just added a custom domain, it can take up to 48 hours to provision — the status will update to “SSL certificate is available.”
- Shopify forces HTTPS across your storefront and checkout automatically; you don’t set up a redirect manually.
Any other website (custom or unlisted CMS)
If you manage your own hosting or use a builder not listed above:
- Install a certificate. Most hosts and platforms support free, auto-renewing certificates from Let’s Encrypt — enable it in your hosting or server settings. If you use a CDN like Cloudflare, you can enable SSL there.
- Redirect all HTTP to HTTPS. Add a permanent (301) redirect at the server or CDN level so every
http://request forwards tohttps://. On an Apache server this typically goes in.htaccess:
RewriteEngine On
RewriteCond %{HTTPS} off
RewriteRule ^(.*)$ https://%{HTTP_HOST}%{REQUEST_URI} [R=301,L]
- Update internal links and canonical / Open Graph URLs to
https://, and make sure images, fonts and scripts all load over HTTPS to avoid mixed-content warnings.
How to confirm it’s fixed
- Reload your homepage and confirm a closed padlock and an
https://address with no “Not secure” label. - Type your
http://address by hand and confirm it automatically redirects to thehttps://version — that proves the redirect is working, not just the certificate. - Open a couple of interior pages and check for the padlock too; if one shows a warning, hunt down the mixed content flagged in the browser console.
- Re-run your ScoutRival SEO audit. The “Serve every page over HTTPS” item should now pass, and your Technical & Performance pillar score should rise.
Common mistakes to avoid
- Installing the certificate but skipping the redirect. If both
http://andhttps://versions load, search engines may see duplicate pages and visitors can still hit the insecure one. Always force the 301 redirect. - Leaving mixed content in place. One image or script loaded over
http://breaks the padlock on an otherwise-secure page. Update those URLs tohttps://. - Forgetting to update internal links and canonicals. Old
http://links create unnecessary redirect hops. Point them straight at the HTTPS version. - Not updating Google Search Console. After switching, add and verify the
https://version of your property (and submit your sitemap) so Google tracks the right one. - Panicking about a short dip. A brief traffic wobble during migration is normal; it recovers as Google re-crawls the secure URLs.
The bottom line
HTTPS is no longer optional — it’s the baseline for trust, a genuine ranking signal, and a requirement for a professional-looking site. Enable the free SSL certificate your host or platform offers, force every visitor onto the https:// version, tidy up your internal links, and you’ve cleared one of the most important technical items on your SEO checklist.
Want to know exactly which pages are still insecure and what else is holding your site back? Run a free SEO Score with ScoutRival for a prioritised, plain-English fix list across your whole site. Once you’re secure, a fast server is the next technical win — see our guide on how to reduce server response time.
Frequently asked questions
What does switching to HTTPS mean?
Is an SSL certificate free?
Does HTTPS help with SEO?
What is the difference between HTTP and HTTPS?
What is mixed content and why does it break the padlock?
Do I need to redirect HTTP to HTTPS?
Will switching to HTTPS hurt my rankings?
Nasir Uddin is an SEO consultant and ScoutRival's SEO & Growth Lead. He's spent years helping small businesses climb the search results — and now the AI answers too — and writes about SEO, AI-search visibility, and turning organic traffic into real growth.
Keep reading
All SEO →

Stop reading about it. Ship it this week.
ScoutRival turns competitor intel into ready-to-post content and graphics — for a fraction of an agency.